API Endpoints Overview
The API provides these key endpoints:- GET /stores/available - Get the nearest store by customer address
- GET /stores/:storeId/services - Get available services by customer address
- GET /stores/:storeId/delivery-windows - Get available delivery time slots
- GET /stores/:storeId/delivery-settings - Get store delivery settings
- POST /service-order - Place the order
Step 1. Authentication
Before making any API calls, authenticate to obtain an access token.1
Sign-in via phone number
All API endpoints are authenticated using Bearer HTTP authentication.
Call POST /request-otp to send an SMS message with an OTP code to your phone number
2
Verify One-Time Password code
After receiving the one-time password in SMS message, you need to verify (POST /verify-otp) code to get an access token.
3
Save access token
Pass the
token from the response for subsequent API requests in the Authorization property.Step 2. Find the nearest store
First, determine which stores are available for the customer’s delivery address. The endpoint GET /stores/available returns the nearest store.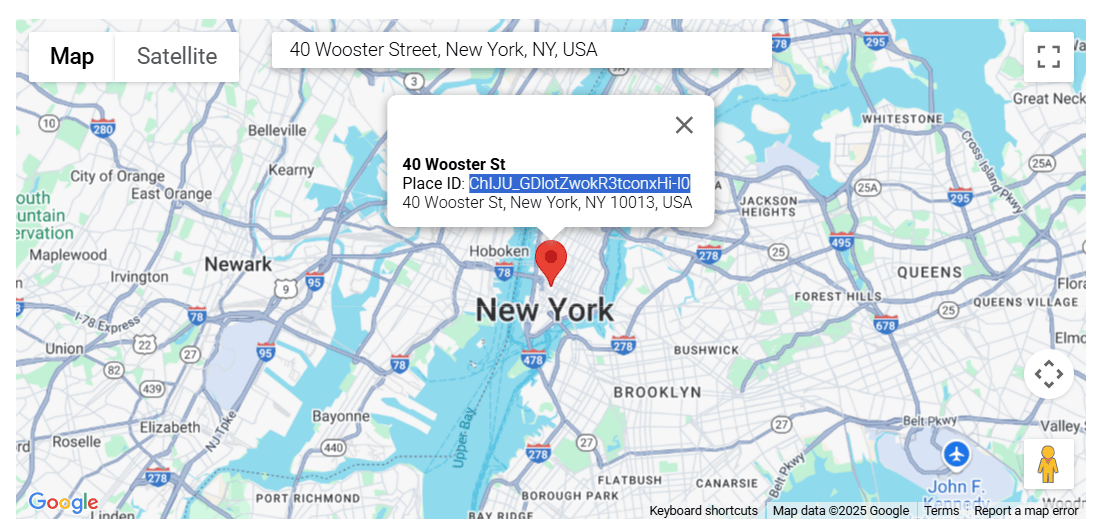
Code Example
id field.
Step 3. Select services
Now that we have a store, let’s see what services they offer for the selected address. Use GET /stores/:storeId/services to get a list of available services with modifiers for the selected store.Code Example
Code Example
Step 4. Browse delivery window shifts
Next, check available delivery time slots for a specific date and your address. Use GET /stores/:storeId/delivery-windows to get available pickup and delivery windows by date for your own drivers, on-demand drivers or both— depending on what your business offers.Sample request query:
GET /stores/:storeId/delivery-windows?date=2025-02-07T18:30:00&type=PICKUP&googlePlacesId=id&categories[0]=LAUNDRYdate - for which date to find delivery pickup/return windows in ISO format (2025-02-07T18:30:00.000Z) type - PICKUP or RETURN googlePlacesId - id that you got in the step 2 (example ChIJU_GDlotZwokR3tconxHi-I0) categories - array of selected category services (LAUNDRY, DRY_CLEANING) servicesIds - id of selected service from the step 3
Code Example
- If you need pickup & delivery for your own drivers, select the ID, startTime, endTime in ISO format of the window from ownDelivery
- If you need pickup & delivery from Cents’ on-demand partners, select the ID, startTime, endTime in ISO format of the window from onDemandDelivery
Step 5. Browse payment method
Next, select one payment method paymentMethodToken from your accounts Use GET /customers/payment-methods If your account doesn’t have any cards on file, leave the paymentMethodToken as emptyStep 6. Browse delivery address
Next, select one address ID from the GET /customers/:centsCustomerId/addresses If your account doesn’t have any cards on file, leave the paymentMethodToken as emptyStep 7. Create the Order
Finally, create the order with selected services and pickup/return delivery windows. Use POST /service-orderNOTES
- Must include selected service IDs exactly as returned
- Must use delivery window IDs exactly as returned
- Delivery days format must match the ISO format without time - “2025-02-12”
Code Sample